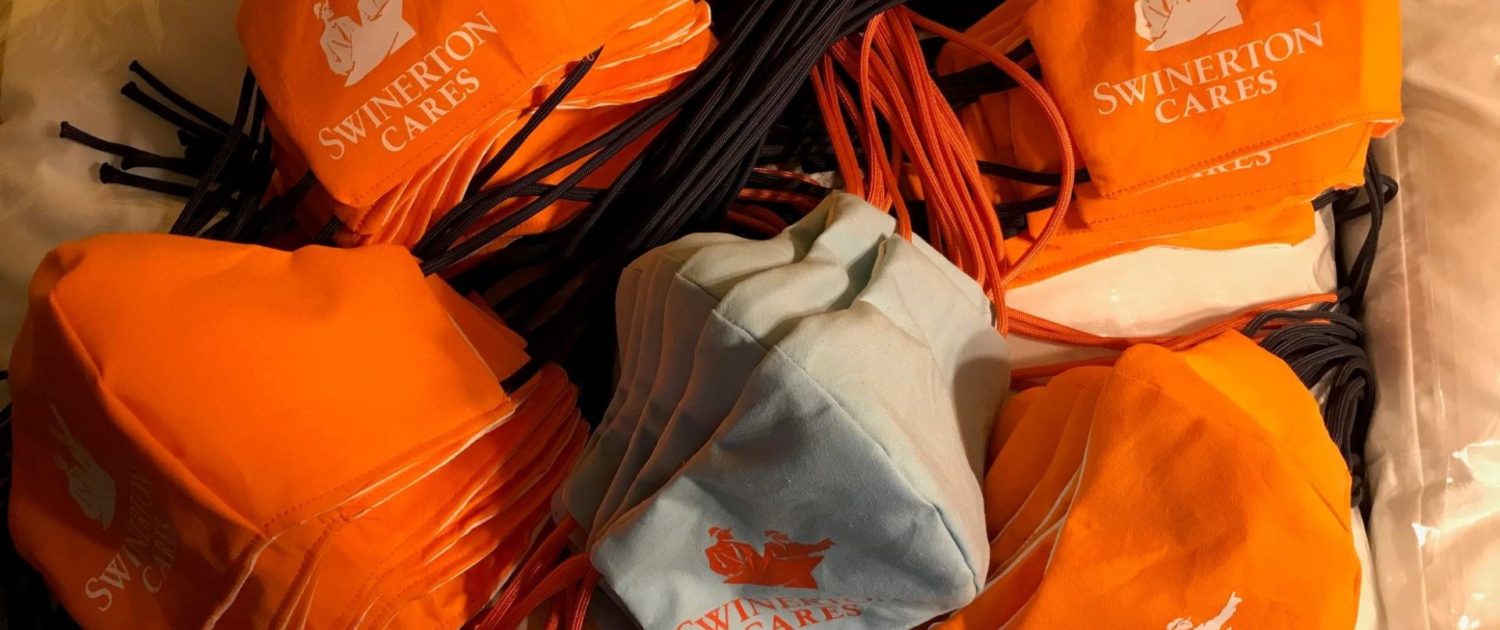
How to make your own Swinerton face covering
SUPPLIES & TOOLS:
Basic Face Covering
- 100% cotton fabric
- Lightweight, nonwoven fusible interfacing
- 2yds fabric ties 2 yards: 1/2″ double-fold bias tape, 3/8″ twill tape, 3/8″ grosgrain ribbon or make your own using knit or woven fabric
- Pattern template (download PDF)
- Basic sewing supplies
SWINERTON Logo
- Cricut® Machine
- Cricut Iron-On
- EasyPress™ (or home iron)
Nose Bridge
- Bias Tape or other casing 4 inches
- Wire for Nose Bridge (floral wire, pipe cleaner etc.)
DIRECTIONS:
- Download the pattern by clicking “download PDF” below Print Description on the right.
- Cut four of pattern out of fabric (cut 2 together, twice) Apply interfacing to wrong side of fabric pieces.
- Cut fabric ties to about 18″ each.
- To make your own woven fabric ties, cut strips 1 1/2″x 36″ long. Fold strip in half long ways and press. Fold raw edges in toward center fold and press again. Stitch down the side to close tie. Cut to 18″ length and finish one side by folding twice about 1/4″ and stitching to secure.
- To make your own knit fabric ties, cut strips of knit fabric 1 1/2″ wide. Stretch strips out until knit fabric rolls. Trim down to 18″ lengths.
At this point you may choose to add the SWINERTON Logo. If you choose to skip this please move down to step 8
- Layout your SWINERTON Logo in Design Space and cut out of iron-on material. (Cricut Machine)
- Please contact SWINERTON Marketing for the SVG file for this process.
- Apply iron-ons to outer mask pieces using EasyPress (or home iron) and settings appropriate to your materials.
- Match pieces right sides together, and sew the outer curve using 3/8″ seam allowance. Repeat with remaining two pieces.
- Open pieces and press both seam allowances to the right.
- Topstitch down the seam allowance, about 1/4″ from the seam.
At this point you may choose to add a wire nose support. If you choose to skip this please move down to step 13
- To add this support first stitch in 3 sides of your bias tape (grosgrain ribbon approximately ½ inch wide will also work) ½ inch down from the top of your interior fabric (the side that you plan to have facing your mouth.) Stitch this casing to the side of the fabric with the stabilizer on it. This will enable you to have it completely encased when you complete the project.
- Insert the 3 ½ inch wire (can be pipe cleaner, flower wire etc.) into the casing and sew the open end closed.
- Lay one half of the face covering down with the right side facing up. Pin raw ends of fabric ties in each corner, placing them 1/2″ up/down from the top and bottom edges. Finished tie ends should extend toward the middle of the face covering. Once ties are pinned in place, bundle the tie ends together in the center of the face covering.
- Match front and back pieces right sides together, nesting center front seams.
- Pin and sew around the exterior of the mask, leaving a small opening at the bottom of the mask between the center front seam and corner.
- Clip across corners, taking care not to cut through the stitching.
- Turn mask right side out and press.
- Topstitch around the face covering, closing the hole at the bottom in the process.
Care:
CDC recommends that you wash regularly. Do not place face covering in the dryer


